
ZSH
Installation
sudo apt install zshStandard-Konfiguration installieren
sh -c "$(curl -fsSL https://raw.githubusercontent.com/ohmyzsh/ohmyzsh/master/tools/install.sh)"Plugins
Core-Plugins (bereits in Oh My Zsh enthalten)
(nachgit
gcloud
kubectl
terraform
aliases
zsh-autosuggestions
Vervollständigt Kommandos wie bei der Shell Fish
git clone https://github.com/zsh-users/zsh-autosuggestions ${ZSH_CUSTOM:-~/.oh-my-zsh/custom}/plugins/zsh-autosuggestionszsh-syntax-highlighting
git clone https://github.com/zsh-users/zsh-syntax-highlighting.git ${ZSH_CUSTOM:-~/.oh-my-zsh/custom}/plugins/zsh-syntax-highlightingkube-ps1
Wofür kube-ps1?
Wofür kube-ps1?
kube-ps1 ist ein kleines Helferlein für die Shell, das dir den aktuellen Kubernetes-Kontext direkt in deiner Prompt-Zeile anzeigt.
GrundsätzlichStell müssendir vor: du bist auf mehreren Clustern unterwegs – vielleicht ein Test-Cluster, ein Staging-Cluster und die heilige Production. Mit kubectl config use-context … wechselst du hin und her. Da kann es fatal sein, wenn du den Überblick verlierst und plötzlich ein kubectl delete im falschen Cluster ausführst.
Genau hier springt kube-ps1 ein:
Es hängt an deinem Prompt eine Info wie
(⎈ |my-cluster:default)→ ⎈ ist das Kubernetes-Symbol (Helm).
→ my-cluster ist dein aktueller Cluster (Context).
→ default ist das aktuelle Namespace.
Beispiel-Prompt:
user@host (⎈ |prod:default) $git clone https://github.com/jonmosco/kube-ps1.git ~/.oh-my-zsh/custom/plugins/kube-ps1Plugins aktiviert, indem sie in derKonfiguration zshrc in der folgenden Zeile aufgeführt sindeintragen
nano ~/.zshrc# Which plugins would you like to load?
# Standard plugins can be found in $ZSH/plugins/
# Custom plugins may be added to $ZSH_CUSTOM/plugins/
# Example format: plugins=(rails git textmate ruby lighthouse)
# Add wisely, as too many plugins slow down shell startup.
# plugins=(git)
plugins=(git gcloud kubectl kube-ps1 aliases terraform zsh-autosuggestions)autosuggestions zsh-syntax-highlighting)zsh-autosuggestions
Änderungen
Vervollständigt Kommandos wie bei der Shell Fishübernehmen
gitsource clone https://github.com/zsh-users/zsh-autosuggestions ${ZSH_CUSTOM:-~/.oh-my-zsh/custom}/plugins/zsh-autosuggestionsDann in der plugins=(..) hinzufügen und zsh neustarten
kubectl Befehle
plugins=(git gcloud kubectl kube-ps1 aliases terraform zsh-autosuggestions)zshrcThemen
(nach jeder Änderung muss zsh neu gestartet werden)
Übersicht der Themen https://github.com/ohmyzsh/ohmyzsh/wiki/themes
z.B. Powerlevel10k

git clone https://github.com/romkatv/powerlevel10k.git $ZSH_CUSTOM/themes/powerlevel10kAktivieren der Themen
nano ~/.zshrcIn der Zeile 12 kann das Thema hineingeschrieben werden
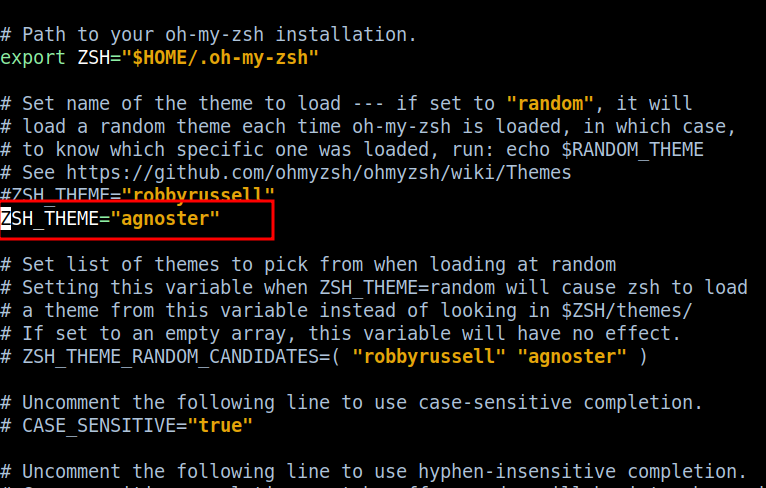
z.B.
ZSH_THEME="powerlevel10k/powerlevel10k"ZSH zur Standard Shell machen
chsh -s /bin/zsh